Kia Rio: Body (Interior and Exterior) / Cowl Top Cover
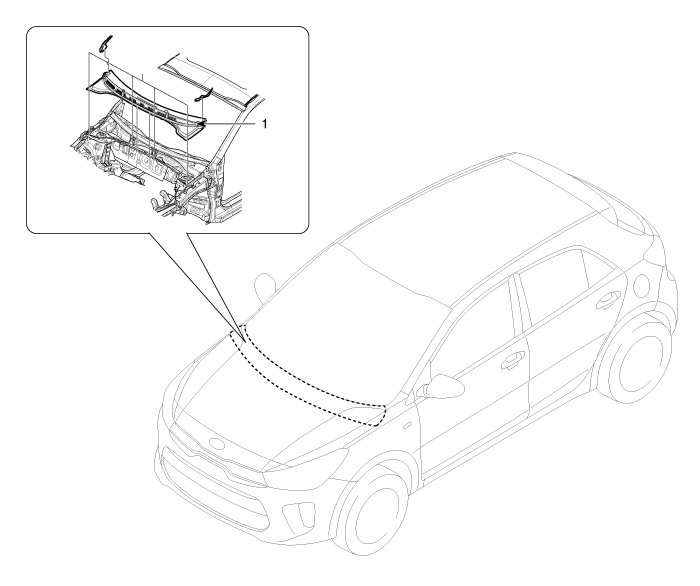
Components and components location

Repair procedures
|
Put on gloves to protect your hands.
|
| • |
Use a plastic panel removal tool to remove interior trim pieces
without marring the surface.
|
| • |
Take care not to bend or scratch the trim and panels.
|
|
| 1. |
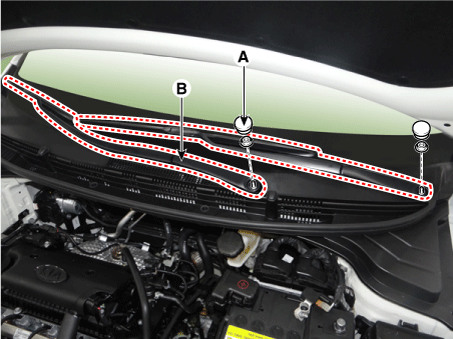
Remove the cap (A) and the nuts, and then remove the wiper arm (B).
|
Tightening torque :
22.6 - 26.5 N·m(2.3 - 2.7 kgf·m, 16.6 - 19.5 lb·ft)
|

|
| 2. |
Disconnect the nozzle hose (A).

|
| 3. |
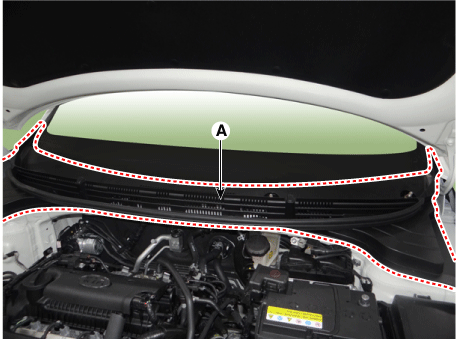
Detach the clips, then remove the cowl top cover (A).

|
| 4. |
Install in the reverse order of removal.
|
Replace any damaged clips.
|
|
Repair procedures
Replacement
Put on gloves to protect your hands.
&nbs ...
Components and components location
Components
1. Cowl cross bar assembly
2. Main wiring harness
3. Main crash pad assembly
4. Side air vent duct assembly [RH] ...
Other information:
Components and components location
Components
1. Rear transverse trim
2. Luggage covering mat
3. Luggage floor net
4. Luggage side trim [RH]
5. Rear wheel house trim [RH]
6. Luggage partition side trim
[RH]
7. Rear wheel house trim [LH]
...
Components and components location
Component Location
1. Steering column shroud lower
panel
2. Steering column shroud upper
panel
Repair procedures
Replacement
[Steering column shroud
upper panel]
& ...

 Rear Mud Guard
 Crash Pad


