Kia Rio: Rear Door / Rear Door Trim
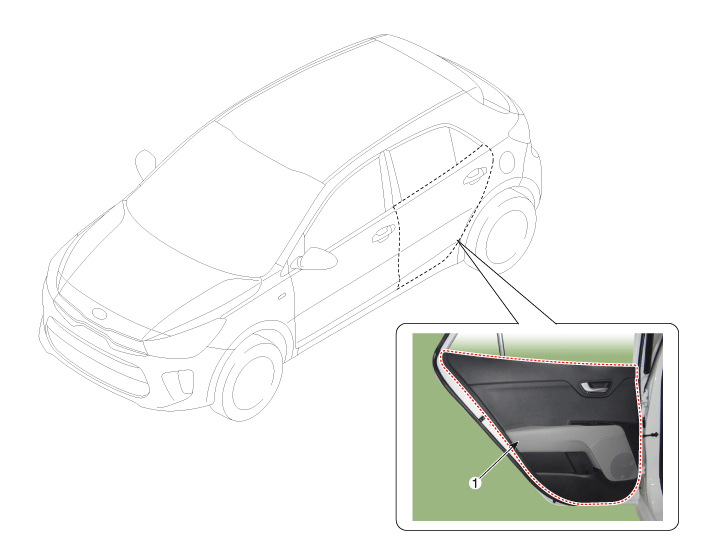
Components and components location

Repair procedures
|
Put on gloves to protect your hands.
|
| • |
Use a plastic panel removal tool to remove interior trim pieces
without marring the surface.
|
| • |
Be careful not to bend or scratch the trim and panels.
|
|
| 1. |
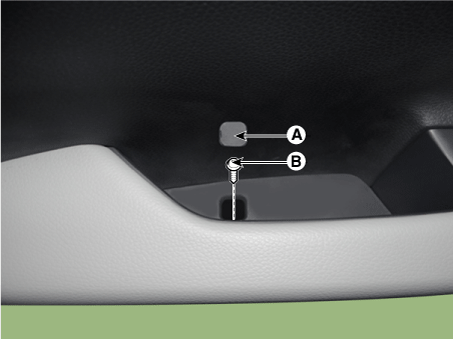
Remove the cap (A) and then loosen the screw (B).

|
| 2. |
Remove the rear door inside handle cap (A).

|
| 3. |
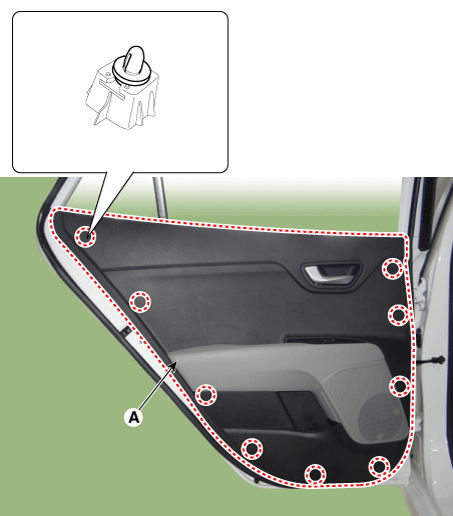
Remove the rear door trim (A).

|
| 4. |
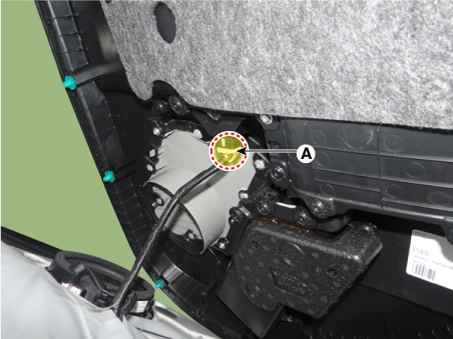
Disconnect the power window switch connector (A).

|
| 5. |
Install in the reverse order of removal.
| •
|
Check that glass operation is normal.
|
| •
|
Check the damage glass channel, and replace if necessary.
|
| •
|
Adjust glass if necessary.
|
|
|
Components and components location
Components
1. Rear door trim complete
2. Rear door complete
3. Rear door belt inside weatherstrip
4. Rear door belt outsid ...
Repair procedures
Replacement
Put on gloves to protect your hands.
&nbs ...
Other information:
Repair procedures
Replacement
Put on gloves to protect your hands.
•
Use a plastic panel removal tool to remov ...
Components and components location
Components
Repair procedures
Removal
1.
Disconnect the brake fluid level switch connector (A) and then remove
the reservoir cap.
2.
Remove the front/rear wheel & tire.
...

 Rear Door
 Rear Door Inside Handle


